Breakfast, Brunch, Father's Day, Food, Kids, Recipes, traditions

Baked Eggs in ramekins 


It was just Father’s Day and that meant breakfast in bed for our daddy! (I often get breakfast in bed ‘just because’ so he deserves it! Be jealous, it’s OK ha!) I’m currently obsessed with Bobby Flay’s Brunch @ Bobby’s, so much so that we are adding fall brunch to our yearly entertaining traditions (he has an entire episode around apples it’s a given!). One day he did a brunch in bed with dishes that are easy to eat in bed/sans a table. Baked eggs, he calls them shirred eggs, were on the list which made complete sense, no scrambled egg crumbs in the bed, plus I’ve been meaning to make them so I filed them away for my Father’s Day menu. 

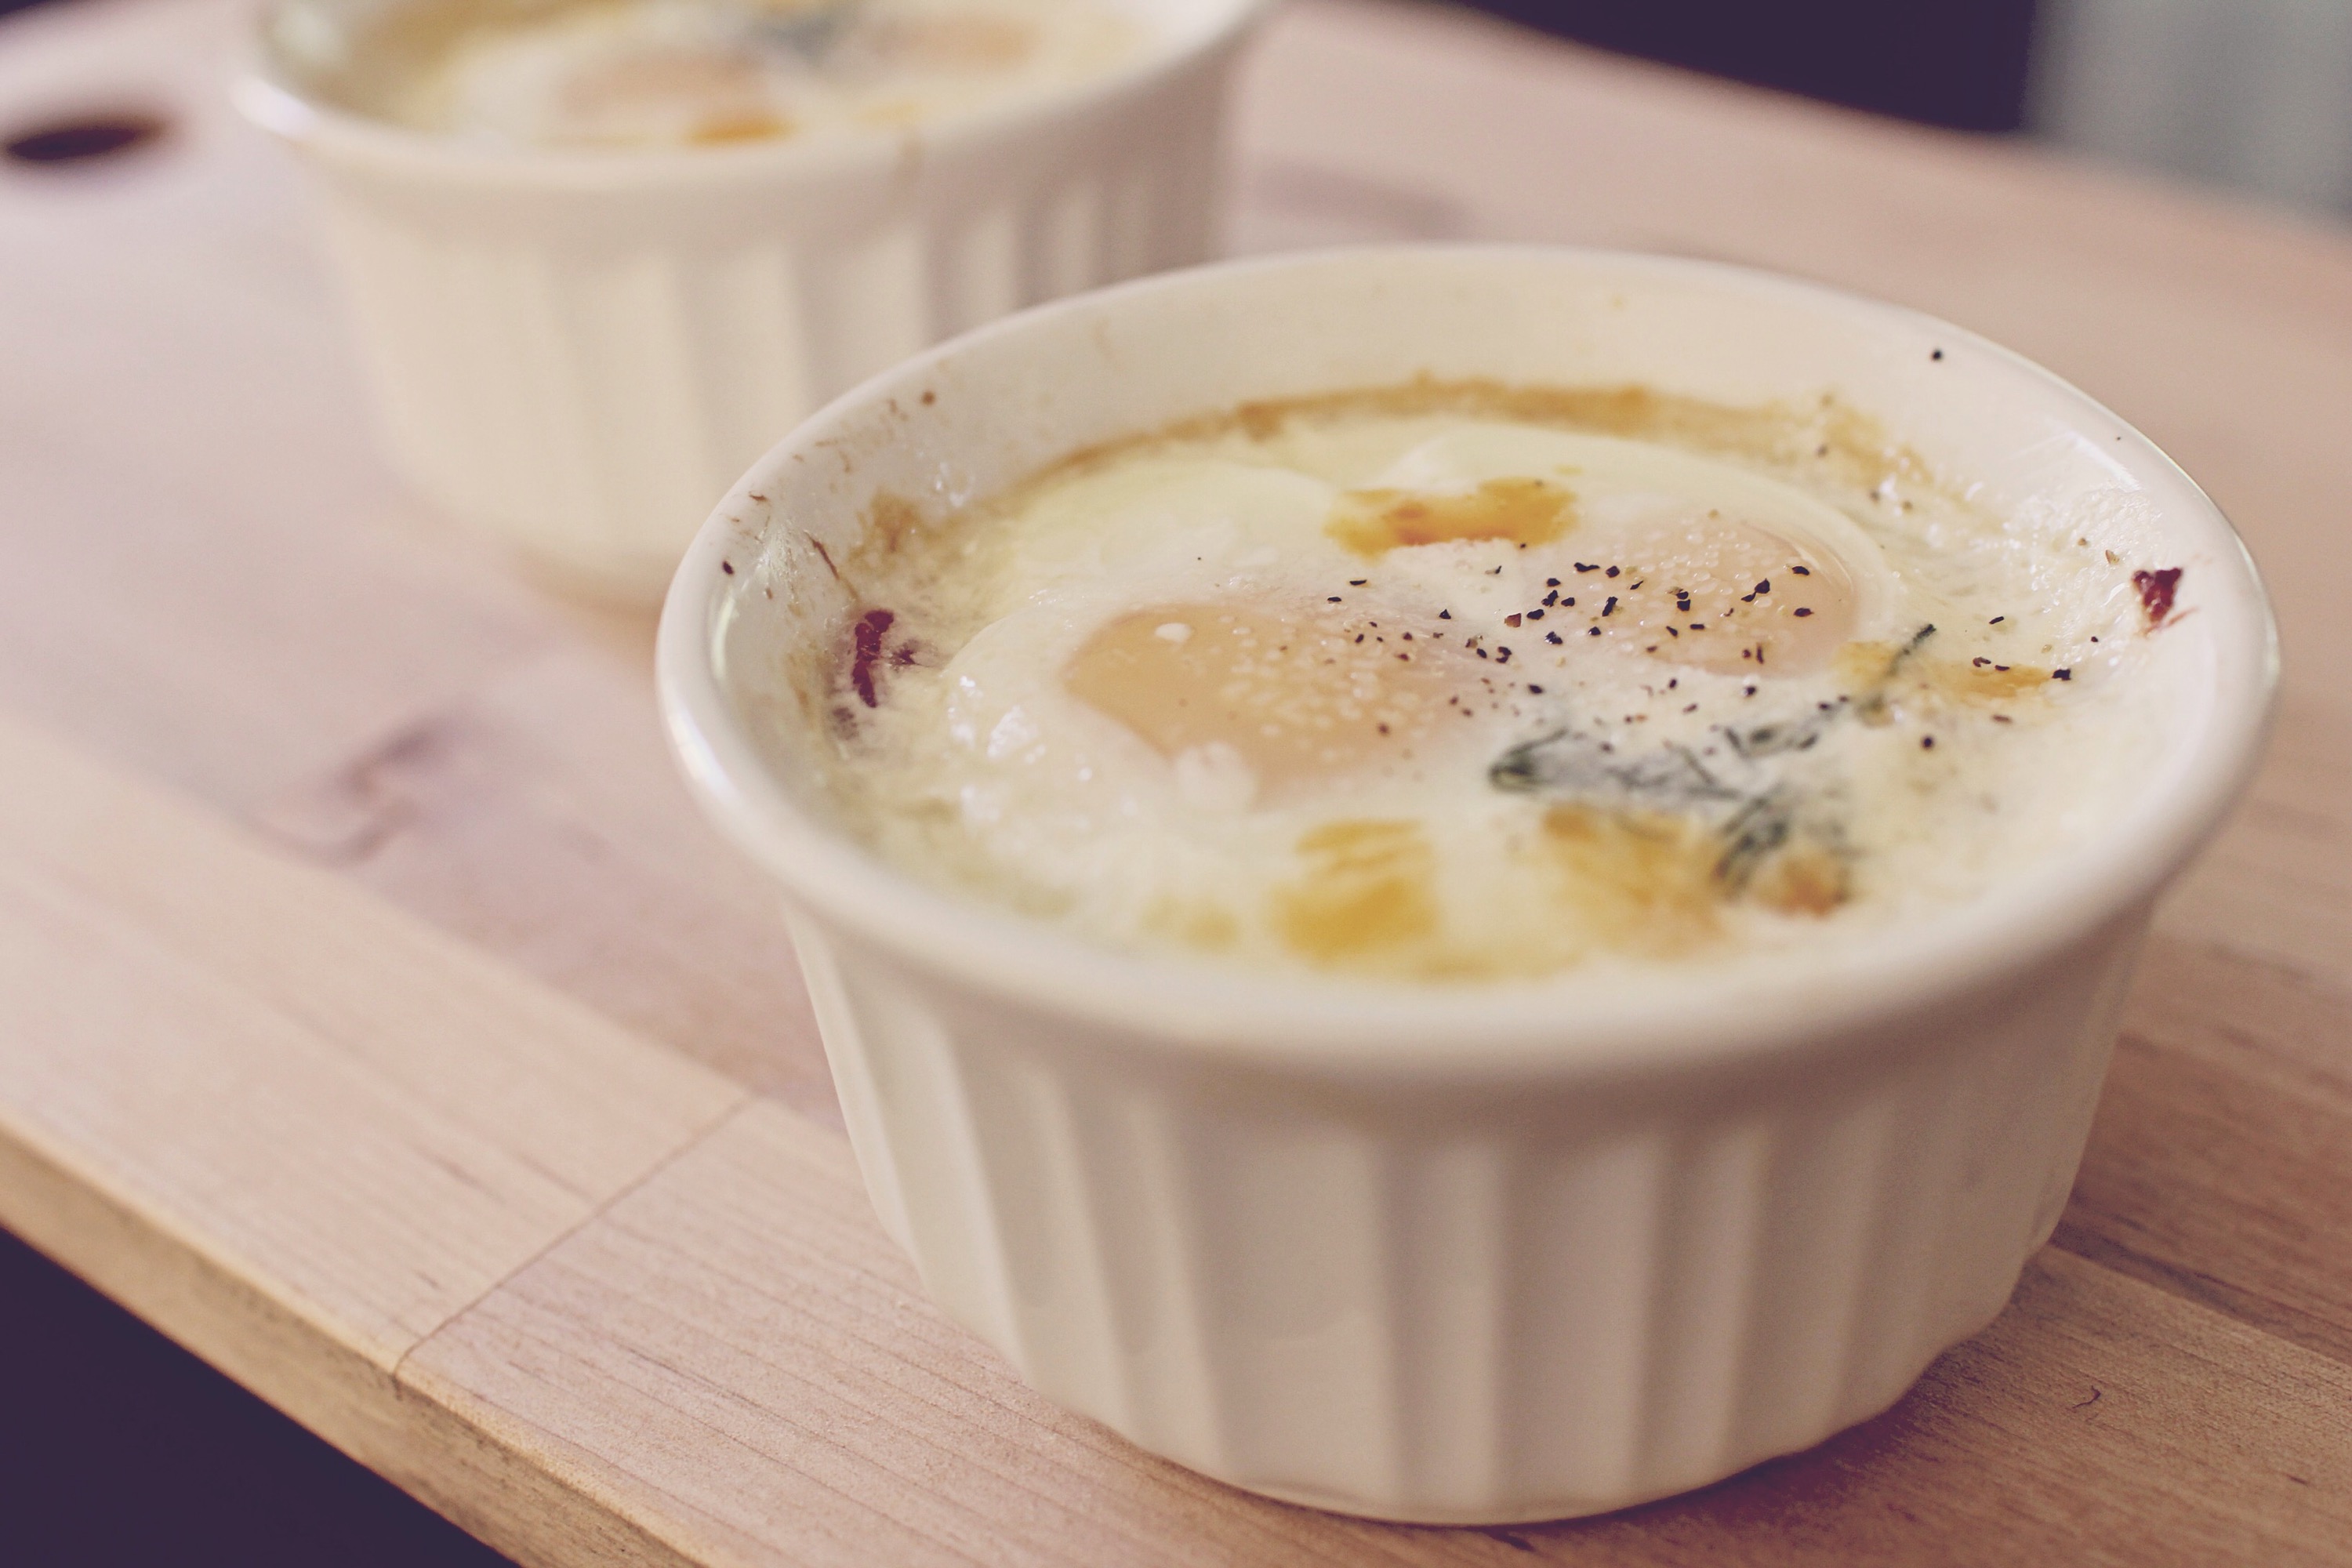
Full disclosure these pictures of the process were taken on a random afternoon when I decided I should test them out before hand (also we needed lunch) so I could time it right on Father’s Day. The menu was a surprise for Daddy good thing he works away from the home! (For this only reason, usually we just miss him!) The idea of breakfast in bed for one parent is beautiful but executing it is a whole other story! The cooking parent needs to also keep the kids entertained so the special day parent can relax with the paper (his phone and the MLB network) and stay in bed. (The morning was a little crazy so I had to send him back to bed to eat, classic expectation verses reality!) I made a bunch of treats so I definitely didn’t have time to photograph as I cooked! The test day I felt like over hard eggs (fully cooked yoke, in photo) but as I ate it I wished I left some runny yoke so that’s what I did for my special menu. The runny yoke made a beautiful sauce. Our Daddy is not a toast dipped in yoke guy so being in the ramekin made it so you didn’t even need the toast. (But of course why not have the toast if it is your thing!) 


hard yoke


runny yoke.. Mmm


This version is a spin off of Bobby’s I wanted potatoes in it so I thought I’d pre bake potatoes the day before so I could put like a home fry base but on my test day I didn’t have time so the next best thing was very thin sliced potatoes. Cover the bottom of buttered ramekins/any ovenproof bowl/cup with the potatoes. Salt them/drizzle oil (skip the oil if using bacon) then pop that in oven while you make the cream so they can start softening. The potatoe kind of floats (notice in photos) in the cream and egg it’s really nice. 

  
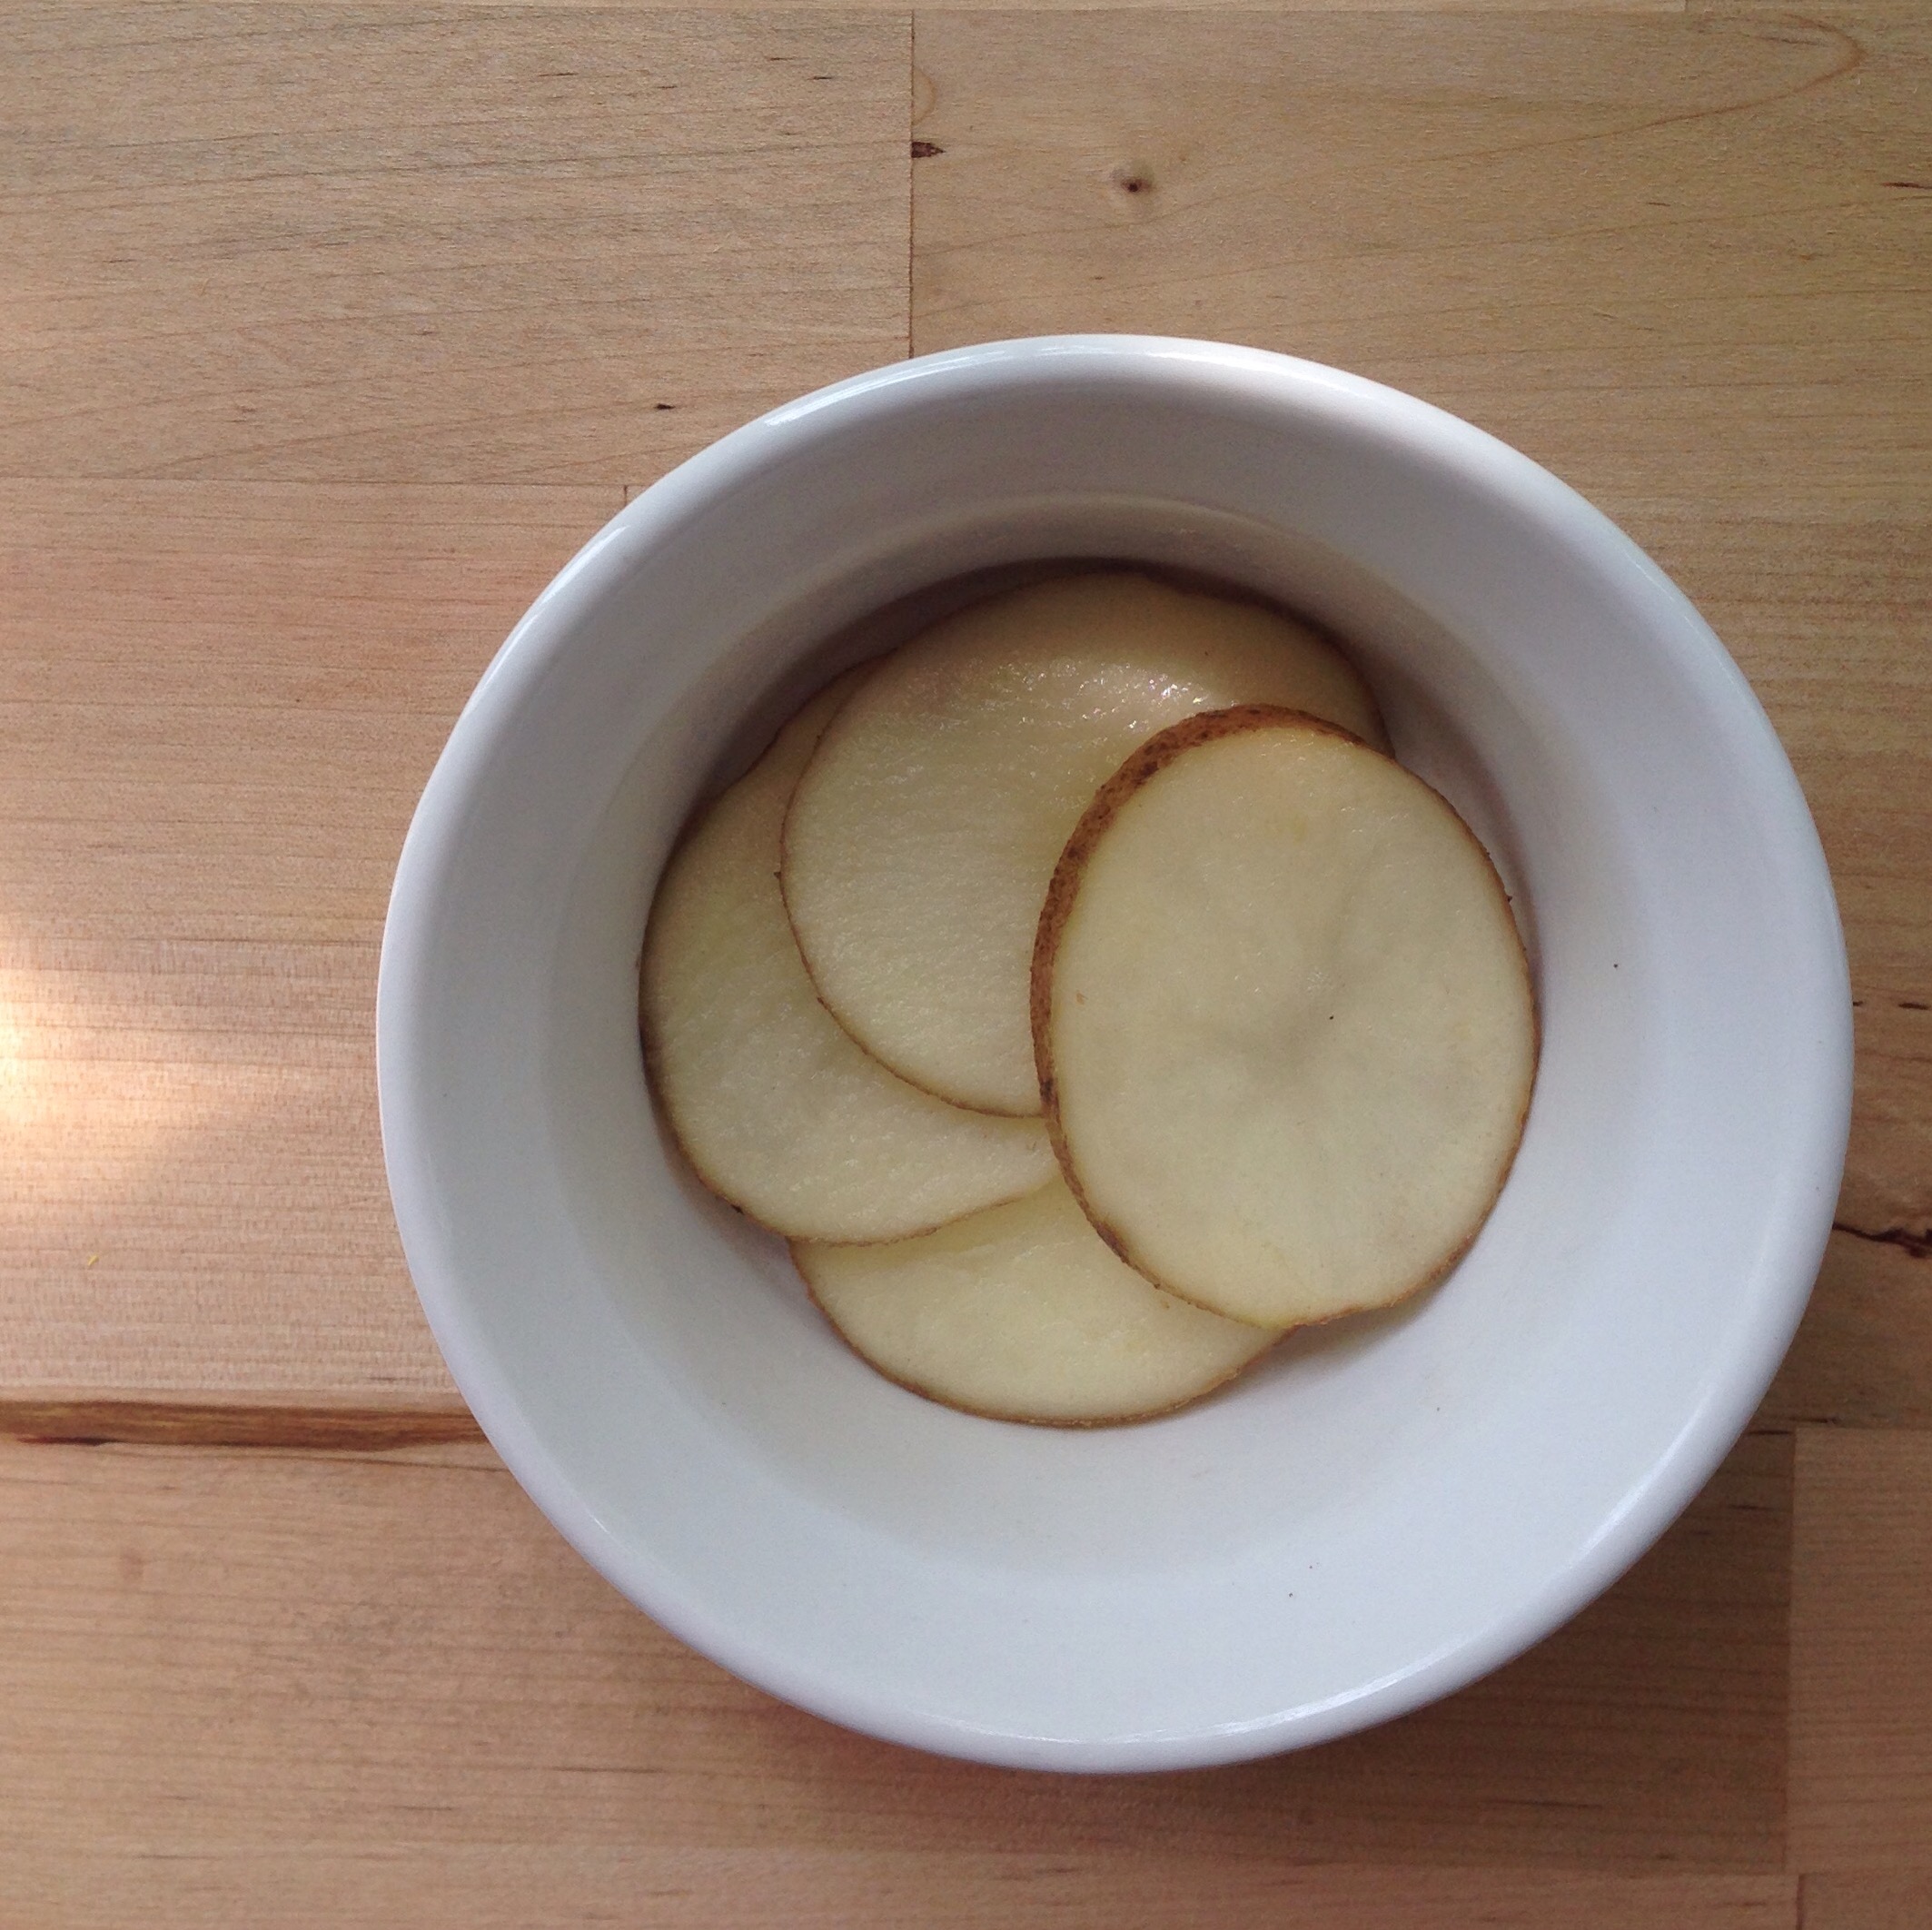
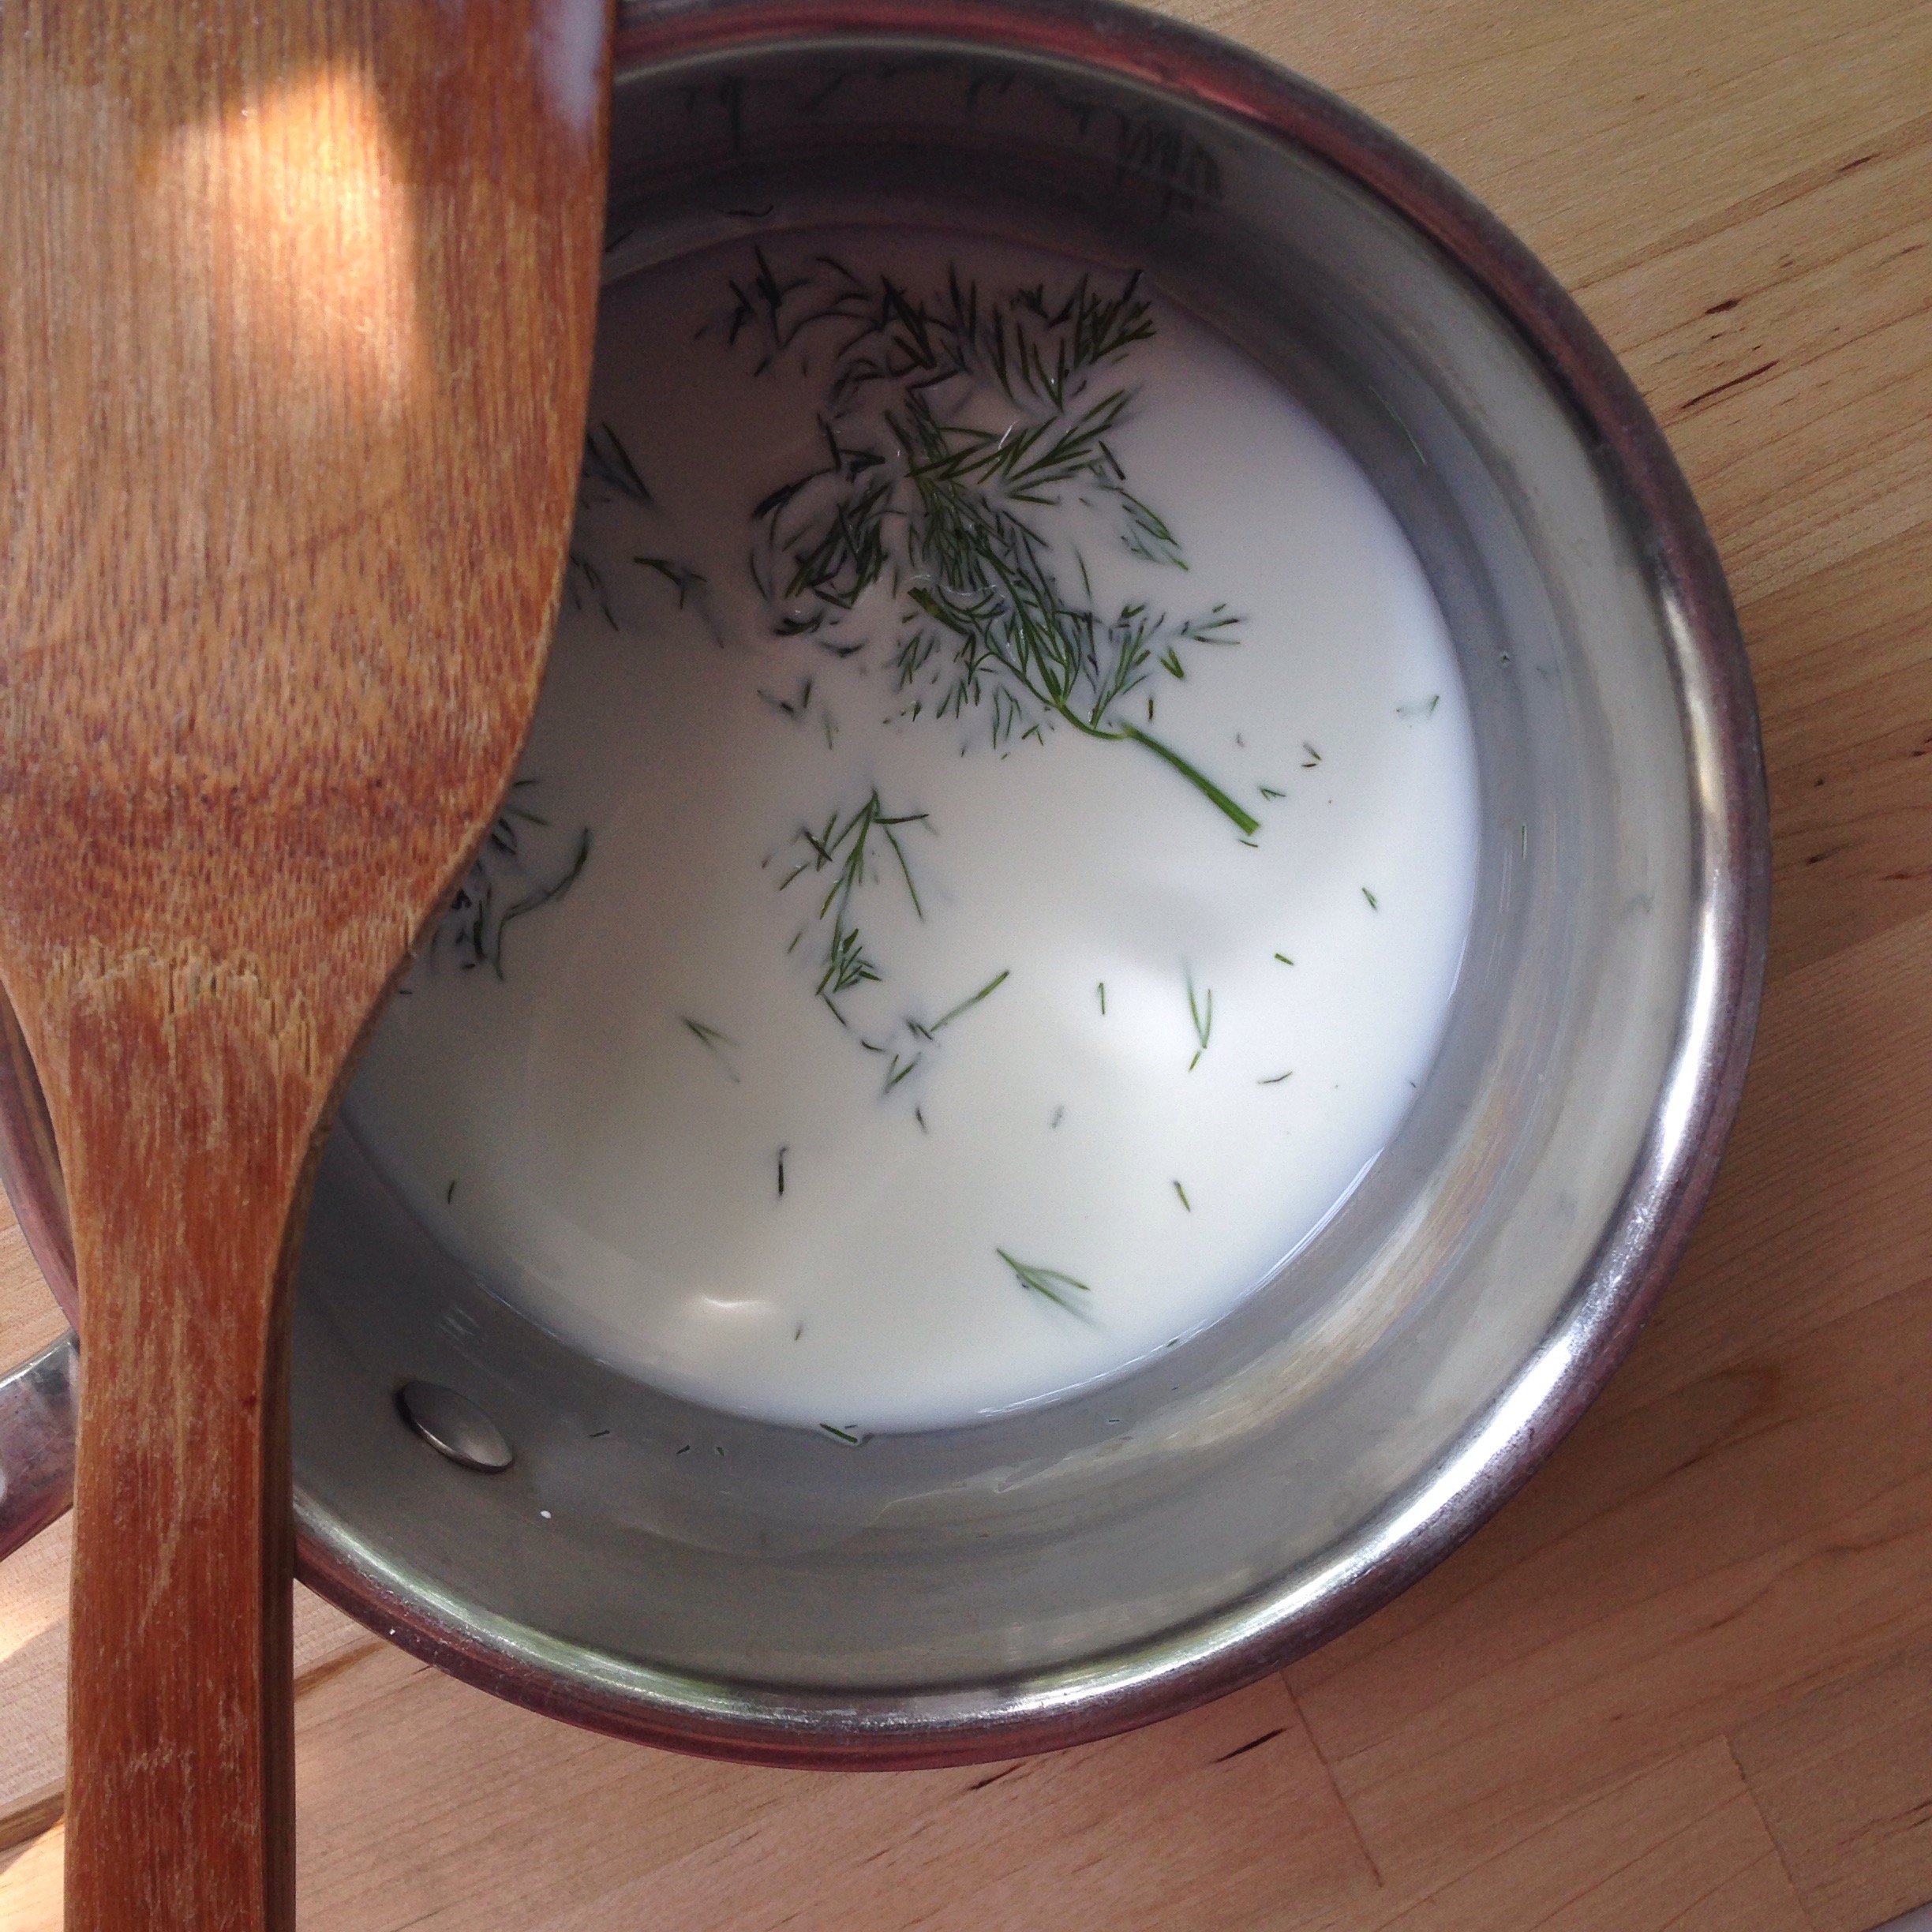
I used russet but any potatoe will work. I used dill in the cream because that’s what I had and because dill is AWESOME! It taste like butter! Throw that with the cream and salt in a pot and let reduce for a few minutes, a slow boil is fine just stir and watch it. 
  

Take the potoatoes out and crack your eggs over them, live dangerously crack them right in there! Then pour your herbed cream (you just made herbed cream!) over the eggs and back in the oven 10-17 minutes. Times vary for your egg preference and if you double recipe. 

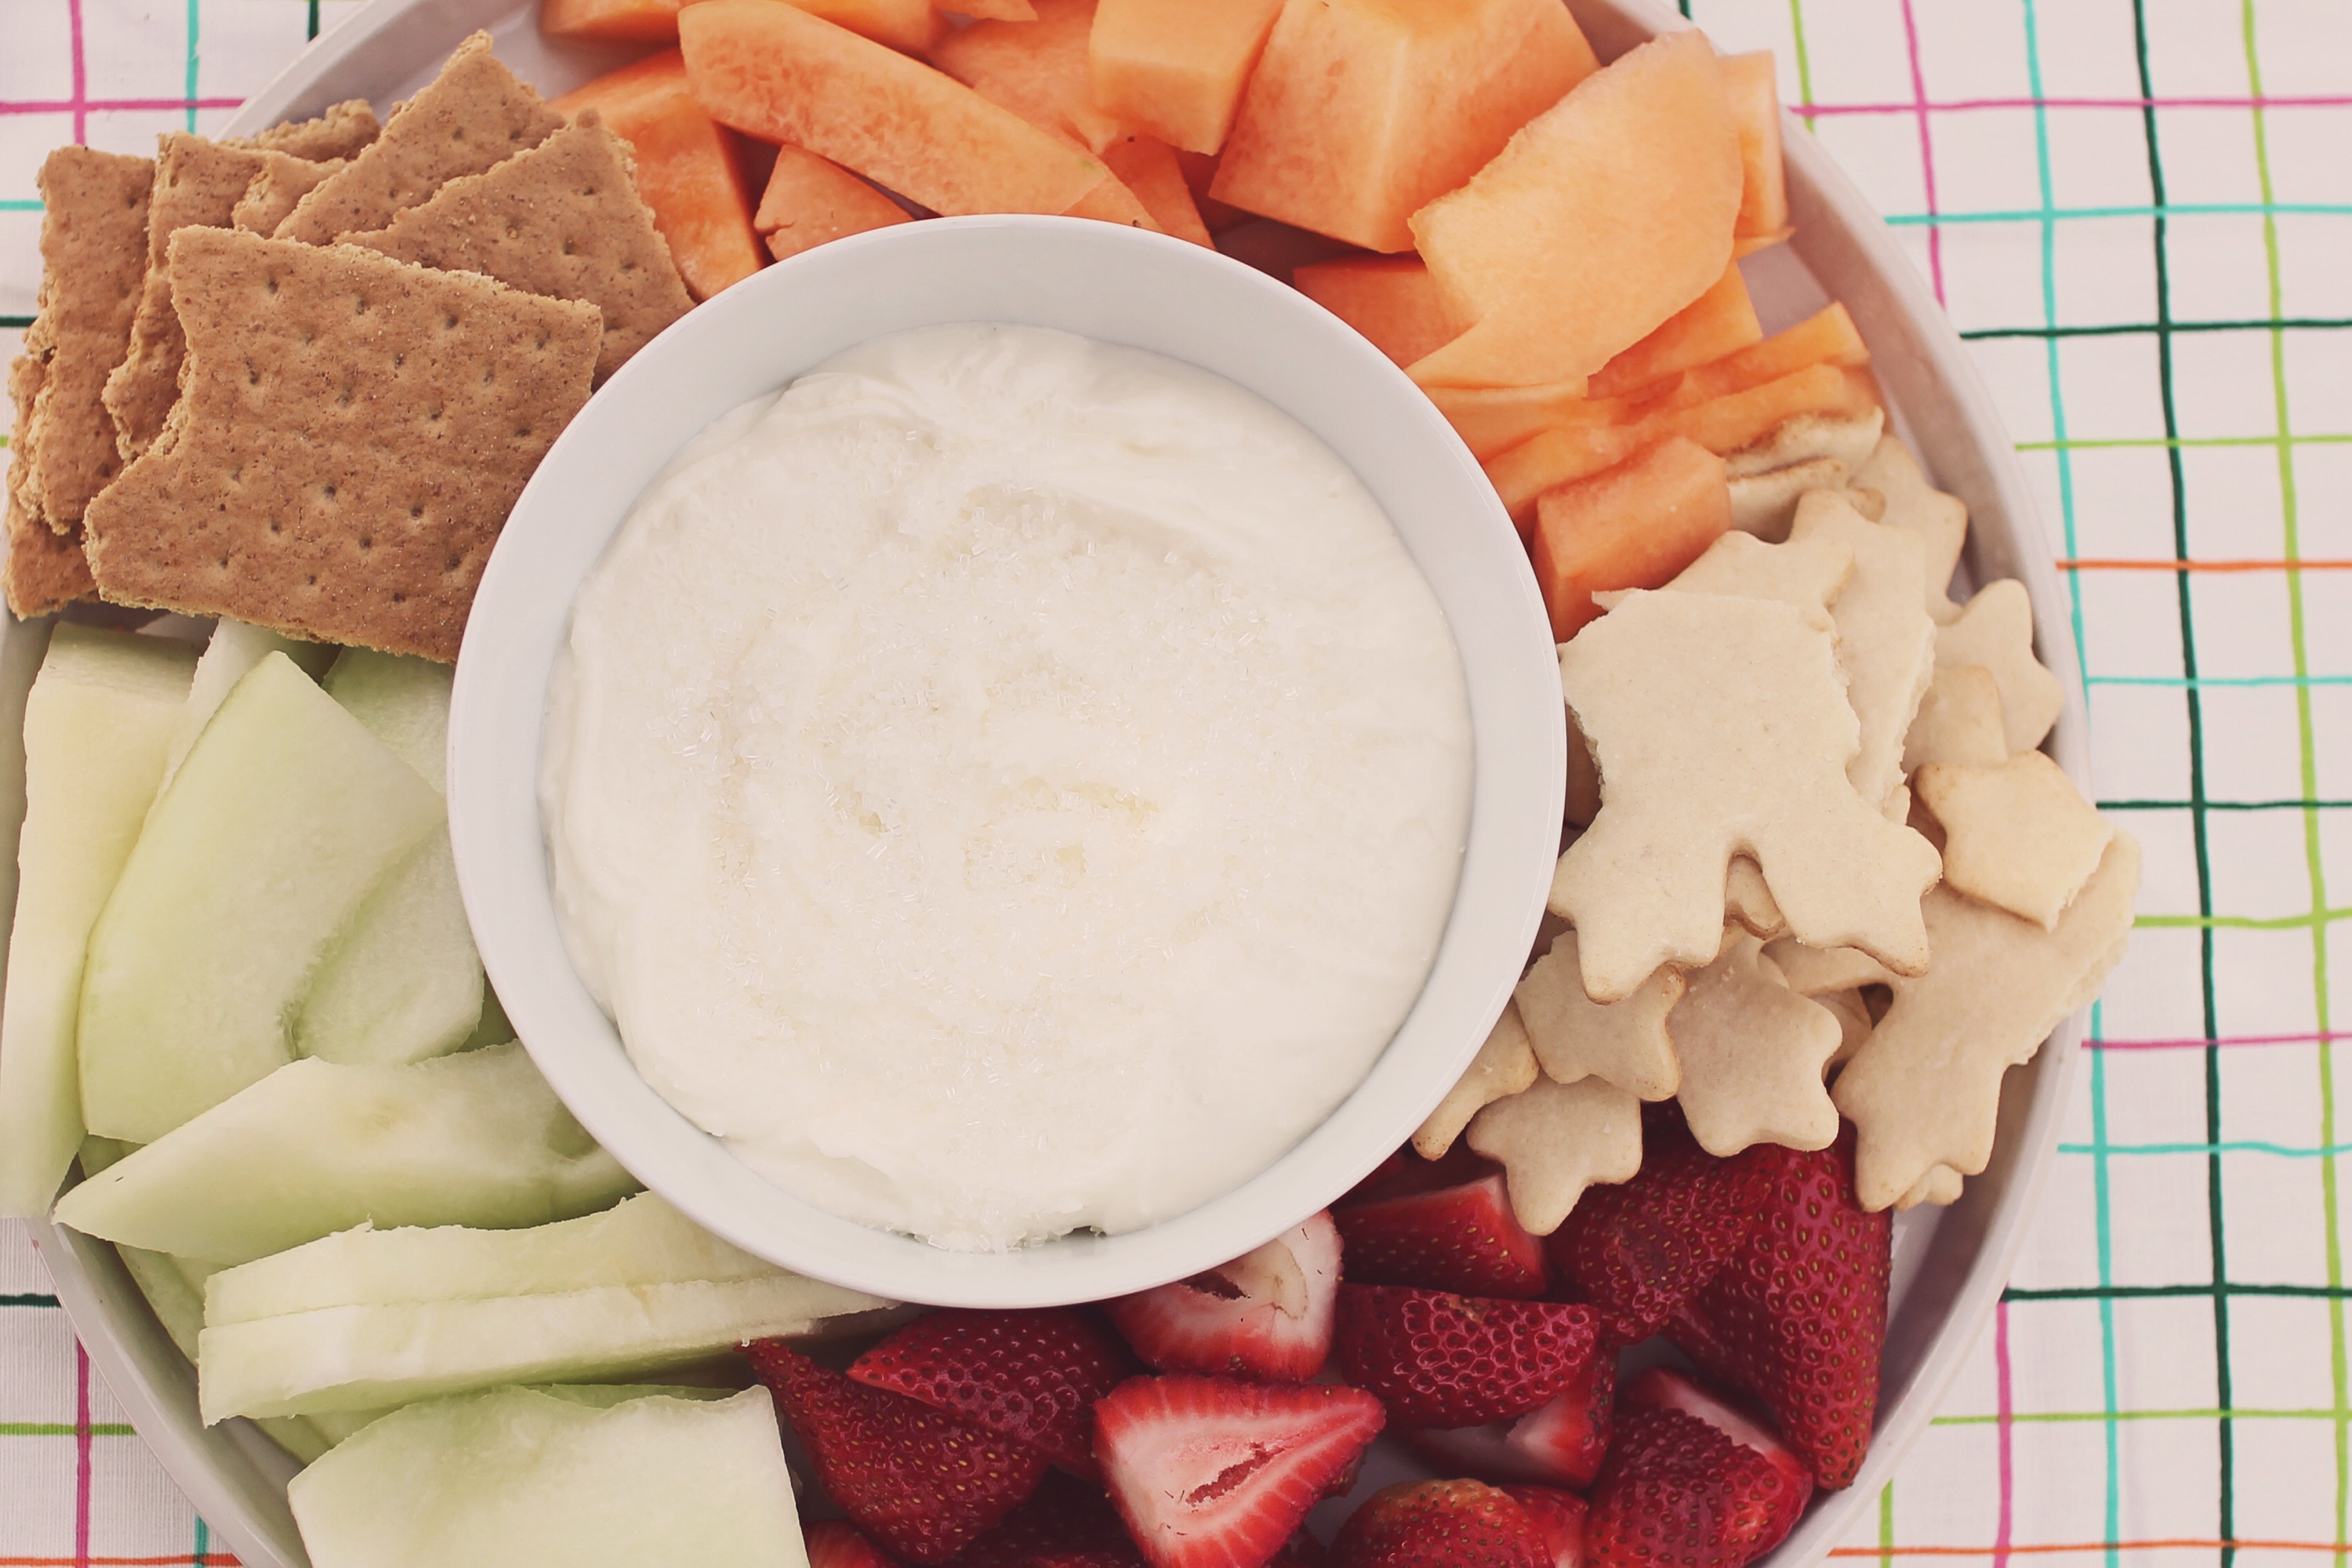
When they come out salt and pepper and a few dashes of hot sauce and serve! The Father’s Day version (also the main photo, I made them again after Father’s Day) had bacon wrapped around the side because Daddies love bacon (mommies do to!) I really enjoyed that version. The runny yoke was a salsa/cilantro version yum and these would pack wonderfully for a picnic at room temp, especially the hard yoke. 

Baked Eggs in ramekins  

Serves 2 easily doubled ect. Done in 25 minutes (less without bacon)


1/2 potoatoe sliced very thin

1/3 cup heavy cream

1 tbls fresh dill

2 eggs

Salt 

Pepper 

2 slices of Bacon broken in 3 pieces each  (I loved the bacon)

Preheat oven to 400 degrees. Butter 2 ramekins and cover bottom with potoatoe slices in one layer. If using, wrap bacon standing up against the inside of ramekin. Salt and place in oven until bacon starts to crisp or until your cream is ready if not using bacon.  

In a small saucepan add cream and dill  no need to chop just rip off a few sprigs. Heat until reduced a bit. 

Take ramekins out of oven crack one egg into each ramekin and pour 2-3 tablespoons of the cream over the top. Make sure to get the herbs in. Place back in oven until whites are cooked through and your yoke is done to your likeness. 10-17 minutes. Start checking at 10 minutes. When they come out of the oven spoon a teaspoons amount of the cream (if it formed a skin just push to side, no big deal) over your egg, salt and pepper, hot sauce (Optional) and serve on a plate over a napkin with a spoon. Be careful it’s hot. 

Cooks note: if just serving these then add 2 eggs per ramekin. 


from the daddys instagram, this was 1 egg you can really notice the bacon yum!


Recipe adapted from Brunch @ Bobby’s


Enjoy! 

Standard
Recipes

Grilled Shrimp with toasted Coconut Rice

Another recipe post! As the Momma in this family my job is feeding everyone and I love that job (most of the time!) so when I think back on my babies childhoods I know food will be in those memories. When I think back on my own childhood food is there. Like I can’t think of fall without thinking of pumpkin hunting with my family and making pumpkin pie with my own Mommy. (She’s sworn me to secrecy, only my children will get those recipes! I like that.) Now I’m the Mommy making the pies, I think that’s rather amazing! I also didn’t start cooking and baking just when I got married I’ve done it my entire life. Dating was hard in my teens because I don’t think the guys were ready for someone who would make them cookies for no reason! I was the kid meal planning at 8 years old and calling my moms kitchen “my kitchen” ha! I did consider starting a recipe blog about 4 years ago so all of this makes sense if recipes become a big part of Kalo Core 4! 

The memory part. In the summer we grill, it’s the best part in my opinion no pans to clean, the taste and everything is relatively healthy. Besides burgers and dogs I’ve taken over the grill (sorry  Ant! I love you but you over cooked your last steak!) The sun is setting, the Daddy puts songs on, the kids are playing, it’s the stuff dreams are made of! 

Last week I made this and we all decided it’s going to be a staple this summer. As long as the shrimp is on sale. Is it just me or did the price of seafood go way up? Still cooking at home is always cheaper and this reminds me of something I would order at a restaurant on the beach!


Grilled Shrimp with Toasted Coconut Rice

Serves 4 can be doubled ect.

1 pound raw shrimp peeled and deveined, thawed if frozen

I lemon, juiced

1/4 oil (I used vegetable any will do)

11/2 tsp Cajun spice mix from spice aisle (MSG free! or homemade recipe follows)

Dash salt and pepper 

If using wood skewers soak in water. In a bowl combine the lemon juice, spice mix and oil whisk. Add shrimp and fold to cover the shrimp with marinade. Let sit in fridge for 30 minutes while you make the rice, coconut and turn on grill. 

When ready to grill skewer them add more oil if needed so they don’t stick and put on a hot grill turning a few times ( grill tip: when anything is ready to turn it lets you move it easily) until cooked through, nice and pink and they make a “c”. Watch closely shrimp cook fast. 

Place grilled shrimp over your bed of rice and sprinkle with toasted coconut (recipe follows) and a bunch of chopped cilantro (optional but I love cilantro!). And serve!


Coconut Rice 

1 cup canned coconut milk, solids and liquid from can (not cream of Coconut)

2 1/3 cup water

1 1/2 jasmine rice or long grain white (brown rice has its place but it’s not here!)

Pinch/dash salt 

Add all ingridents to a pot, stir, bring to boil, stir, cover turn temp to lowest setting and let cook for 15-18 minutes. When rice is nice and soft (might still be some liquid) turn off remove from burner fluff with fork cover and let sit until you’re ready to add to a pretty platter, if not using right away cover platter with foil. Optional: Make a cocktail with the left over coconut milk!

Toasted coconut:

Handful of sweetened coconut on a dry pan over high heat stir constantly until desired color about 3-4 minutes. Don’t walk away it takes a few moments to start browning but goes quick when it does. Remove from heat and pan (it will get darker just sitting in hot pan and by that time you’re done stirring so it becomes uneven, I might have done that once) set aside until ready to use. 

Cajun spice mix:

Equal parts, a few dashes of each will do for this recipe. Add more or omit as you like. 

Paprika, salt, black pepper, red pepper, onion powder, garlic powder.

Cooks note: I used already cooked shrimp (like shrimp for cocktail shrimp) so I didn’t get the perfect grill marks since I only wanted to warm them and add grill flavor. I suggest the raw shrimp although the cooked worked. I sent the Daddy to the store that day oh well!  


Recipe by: Malina Kalogrides

Enjoy!! 

Standard
Recipes

Magic Dip Recipe

My first recipe post! This blog is a mix of things in my life and baking and cooking make up a major part of it so naturally I had to share one! I would love to be able to style the pictures for recipes like “real” blogs with their backdrops and cloth napkins and perfectly sliced cakes that don’t have a bite taken yet ha! I plan to one day but these were snapped right before our party started and anyone who has ever hosted a party for 50 people knows there isn’t much time in that moment! 

notice the cookies.. snowflakes from the frozen party! freeze and reuse everything!


I chose this recipe because at the Frozen Party this was such a big hit! The dip was inspired while googling Frozen party food ideas. I saw a picture for white dip called Elsa’s magical dip. I’m just calling this Magic Dip because it was so good it reprised its role on my food table for our cookout over the holiday weekend and will at many other parties.

Like I mentioned already this was a big hit everyone said how yummy it was. My grandfather (Pop Pop) loved it too. Everyone has that one person they especially enjoy cooking/baking for and my Pop is my special person. He always gets excited when I give him a treat and always says just what I need to hear like, “that was great mal” or “I didn’t share since there was just a few” hehe. So anything my Pop loves goes in my repertoire and with his seal on it I hope it finds a way into yours!

Ok so when I made the dip I had a picture, name and knew it had cream cheese it in but my version was created when I started making it. Greek yogurt got thrown in because it’s white and healthy (lol even mixed with powdered sugar) and was in the fridge but really was the best part. Of course I forgot to leave out the cream cheese so it could go to room temperature like I usually do! So it wasn’t getting perfectly smooth. I said well it’s like the snow balls but the next morning it bothered me enough that I threw it in my mixing bowl full of the left over cream cheese frosting after I frosted the cake and getting smoothed out Magic Dip was born!

I’m probably definitely (makes sense) not the only one to ever put these ingredients together but in my kitchen I am!  

  
Magic Dip

makes enough for a dish of it at a party, the serving size is up to each person!

1 block (8 oz) Cream cheese (room temp please!)

3 tbls butter softened to room temperature

1-2 cups powdered sugar the sweetness is up to you

6 oz or 1 personal container Greek yogurt (Fage {fa-yay} is wonderful)

1 tsp pure vanilla extract

optional but totally the best part: sparkling sanding sugar for top

Directions:

in the bowl of stand mixer fitted with paddle attachment (or hand mixer or as a last resort silicon spatula by hand) beat butter and cream cheese until smooth add powdered sugar mix until combined, beat in Greek yogurt and vanilla extract. Pour into a pretty serving bowl and refrigerate for at least an hour or up to 2 days. Right before serving sprinkle with the sanding sugar (that crunch I think really makes it!) Serve with your favorite sweet dip-ables!

Cooks note: you can leave out the butter to save on calories, I was also pleased with my butter free original recipe if it wasn’t for the lumpy cream cheese! Also the sanding sugar (Wilton) I found at my local Michaels store.

Malina tip: I always use salted butter for everything (I add a tad less salt then called for) because they don’t add flavoring to it but unsalted they do! “Natural flavor” can be from anything in nature and added in a chemical process and can be 50 ingredients that they don’t have to list. It’s not off limits in the house but since I can make an easy switch I do! I’d love to get organic butter but that’s a splurge and with only 2 ingredients (cream and salt) I’m happy with getting the regular.  


Recipe by Malina Kalogrides 

Enjoy!

Standard